Managing administrators
This article describes the administrator role permissions and includes the procedures for adding and deleting an administrator.
NOTE This process is applicable to direct customers only (those customers who do not access SaaS Protection through the Datto Partner Portal).
Administrator roles
The following table describes the role permissions available for an MSP administrator.
| Role | Permissions |
|---|---|
| Super administrator |
|
| Admin |
|
The following table describes the role permissions available for a organization administrator.
| Role | Permissions |
|---|---|
| Super administrator |
|
| Admin |
|
IMPORTANT To change the super administrator, add the user as an administrator by following steps below. Then submit a support request that includes the email addresses of the current super administrator and the new super administrator. The current super administrator will be changed to an administrator.
Managing your administrators
As an administrator, you can add and delete administrators.
To add an administrator:
- On the SaaS Protection Status page, select the applicable organization.
- On the organization menu, hover over the Admin menu and select Manage Administrators.

- Click Add Administrator.

- Enter the following information:
- First Name
- Last Name
- Password (must be a minimum of eight characters and include at least one letter and one number)
- Confirm Password
- Click Add.

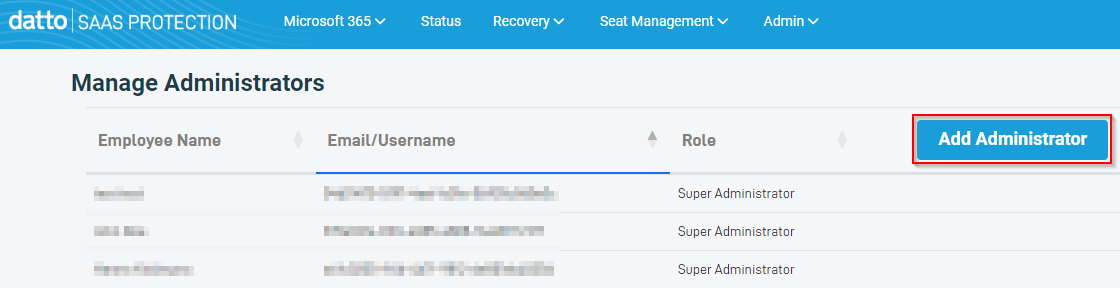
NOTE The list of administrators is sorted by the Email/Username column by default. You can sort the list by Employee Name or Role by clicking the desired column heading.
To delete an administrator:
- On the SaaS Protection Status page, select the applicable organization.
- On the organization menu, hover over the Admin menu and select Manage Administrators.
- For the applicable administrator, click Delete.
- In the confirmation dialog box, click Delete.


