Exploring Seat Management features
Datto SaaS Protection provides many features for managing the seats in your environment. The features are described in this article.
Seat management functionality is based on whether you are using version 1.0 or 2.0.
Seat Management 1.0
You add and remove user accounts on the Seat Management > Users page.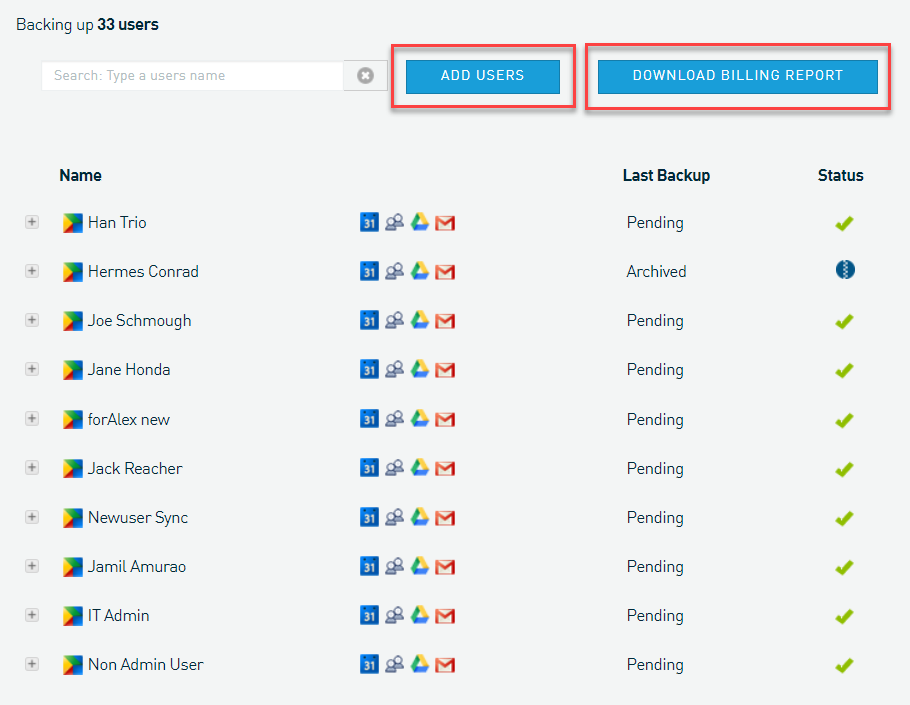
There are three ways to add users:
- Manually
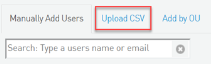
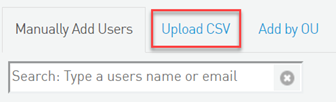
- Uploading a CSV file
- Selecting an organizational group (OU)
- On the SaaS Protection Status page, click the desired organization.
- Select Seat Management > Users.
- Click Add Users.
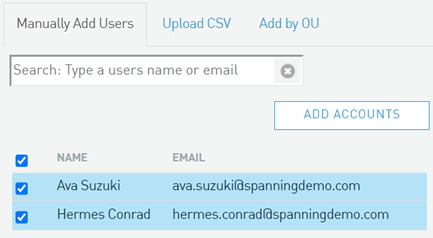
- Click Add Accounts to load the Google Workspace user accounts that don't have a SaaS Protection account.
- To select the specific accounts for which to create a SaaS Protection account, perform one of the following:
- Select the Name check box to select all user accounts in the list.
- Select the check box of each desired user.
- In the Search box, enter the name or email address of the desired user. The list filters as you enter characters. Select the check box of the desired user.

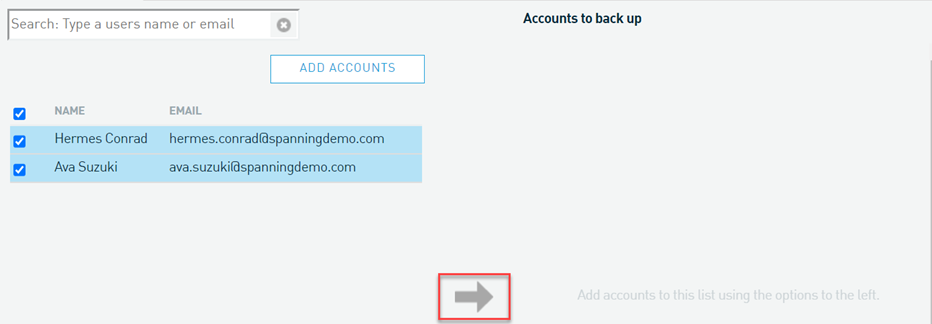
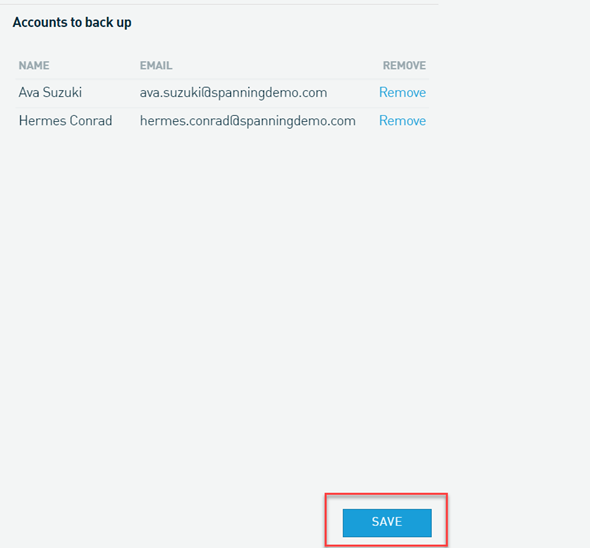
- Click the arrow in the middle of the page to move the selected user to the Accounts to back up column.

- Click Save.

- Create the CSV file.
- On the SaaS Protection Status page, click the desired client.
- Select Seat Management > Users.
- Click Add Users.
- Click the Upload CSV tab.
- Click Choose File.
- Navigate to and select the CSV file.
- Click Save.
- On the SaaS Protection Status page, click the desired organization.
- Select Seat Management > Users.
- Click Add Users.
- Click the Add by OU tab.
- Click Add Accounts to load the Google Workspace OU accounts that don't have a SaaS Protection account.
- Select the check box of each desired OU.
- Click the arrow in the middle of the page to move the selected OU to the Accounts to back up column.
- Click Save.
Enabling Auto-Add
Auto-Add automatically adds users to Datto SaaS Protection with backups enabled when user accounts are created in Google Workspace.
To enable Auto-Add:
- On the SaaS Protection Status page, click the desired organization.
- Select Seat Management > Users.
- Select Admin > Settings.
- In the navigation pane, click Domain Settings.
- Select the following check boxes:
- Automatically add all Shared Drives to Backupify
- Automatically add new accounts to Backupify
- If your organization uses organizational units, you can enable backups for OUs only by selecting the applicable check boxes. Backups are automatically enabled for new users added to the OU.

- Click Save.

Removing users
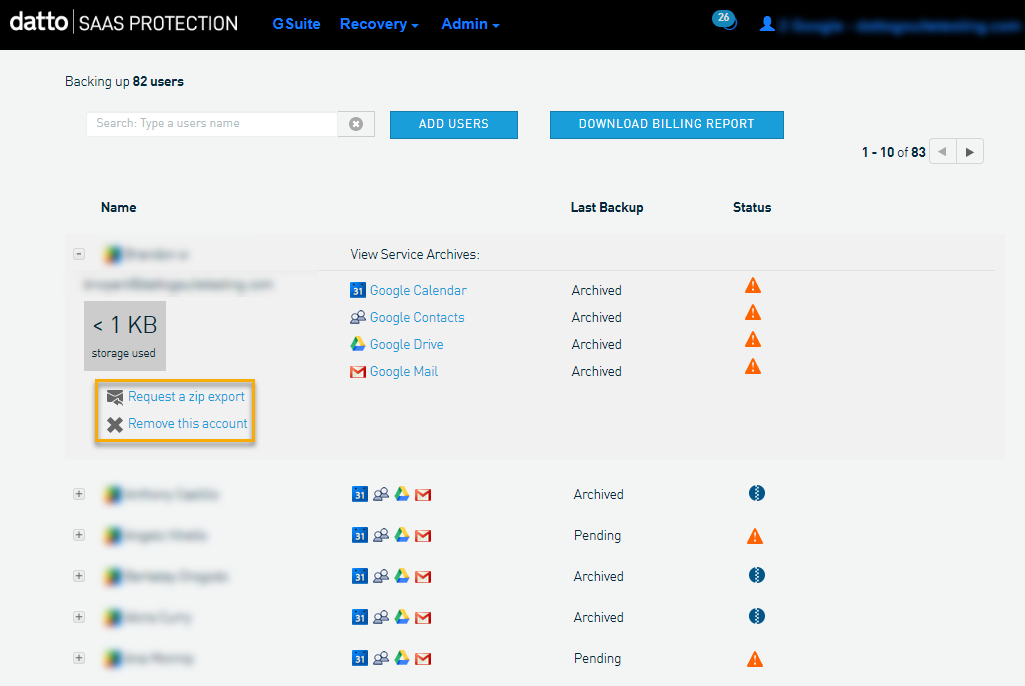
Partner Portal users in Admin roles can navigate to the Settings page and leverage the Remove this account link shown in the below screenshot to delete user accounts that are no longer needed.
Seat management 2.0
You manage each seat type on its own Seat Management page: User Management page and Shared Drives Management page.
There are two sections on each of the Seat Management pages, the Overview section and the Manage section.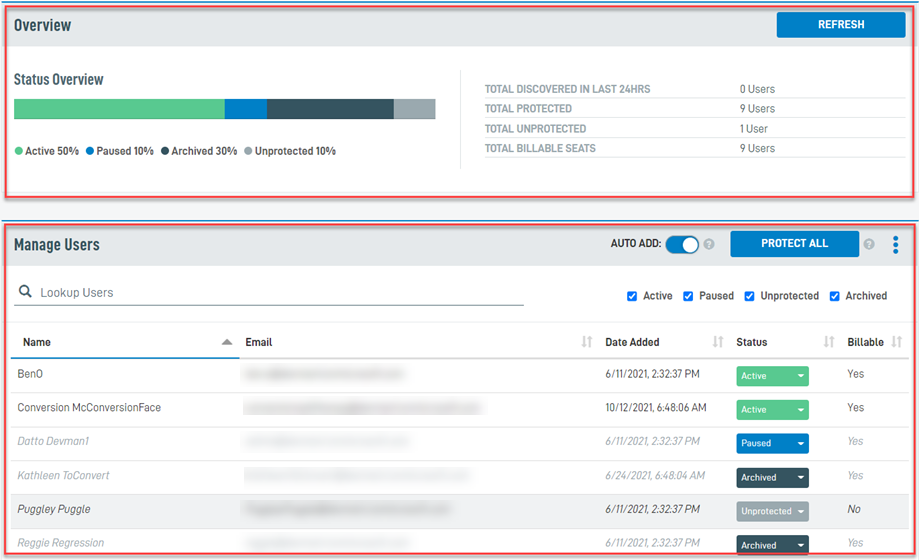
Overview section
The Status Overview bar is located on the left-hand side of the Overview section. Each seat status is illustrated as a percentage of the organization's total number of seats for the particular seat type.
In this User Management example, 50% of the organization's users have an Active seat status (green bar), 10% are Paused (blue), 30% are Archived (black), and 10% are Unprotected (gray).
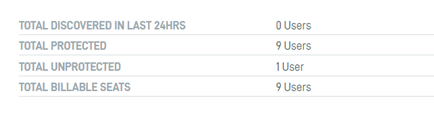
On the right-hand side of the Overview section, the following information is displayed:
- Total Discovered in Last 24 Hours: Total number of new seats SaaS Protection discovered as they were added to your environment within the last 24 hours.
- Total Protected: Total number of the organization's seats that are protected seats.
- Total Unprotected: Total number of the organization's seats that are unprotected seats.
- Total Billable Seats: Total number of the organization's billable seats. Applies to the User seat type only.

Refresh button
Datto SaaS Protection looks for changes to the Protected Users and
If Auto-Add is on, newly discovered users are added to Datto SaaS Protection with backups enabled.
Manage section
The Manage section displays specific information for each seat and includes seat management tools.
Seat information
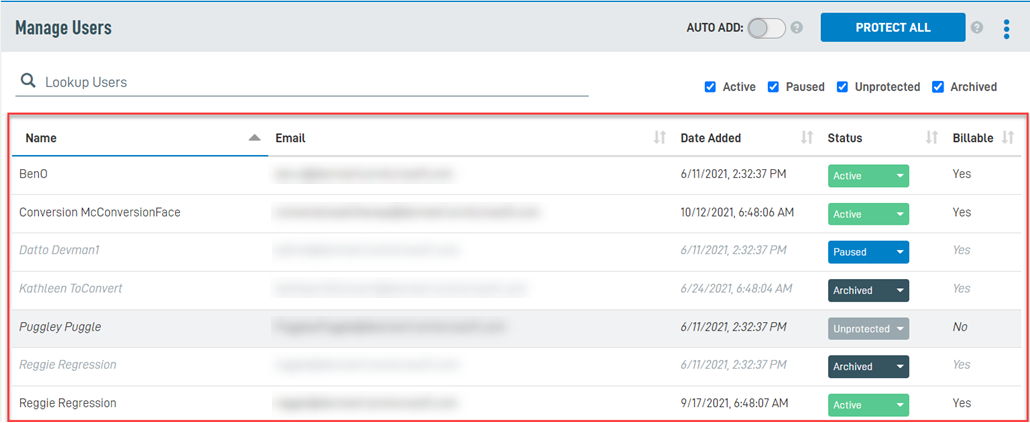
Seat information is described in the following table. The type of information available on each Seat Management page is basically the same, except where indicated.
| Column | Description |
|---|---|
| Name | Name of the organization end user, mailbox, site, or team. |
| Email address of the organization end user, mailbox, or team. | |
| Date Added | Date and time for which the organization end user, mailbox, site, or team was added to the organization's SaaS Protection environment. |
| Status | Seat status of the organization end user, mailbox, site, or team. To change seat status, see the article Changing seat status. |
| Billable (User Management page only) | Indicates whether the user's seat status is billable. |
Seat management tools
Using the tools provided in the Manage section, shown in the image below, you can manage seats for all entities at once or individually.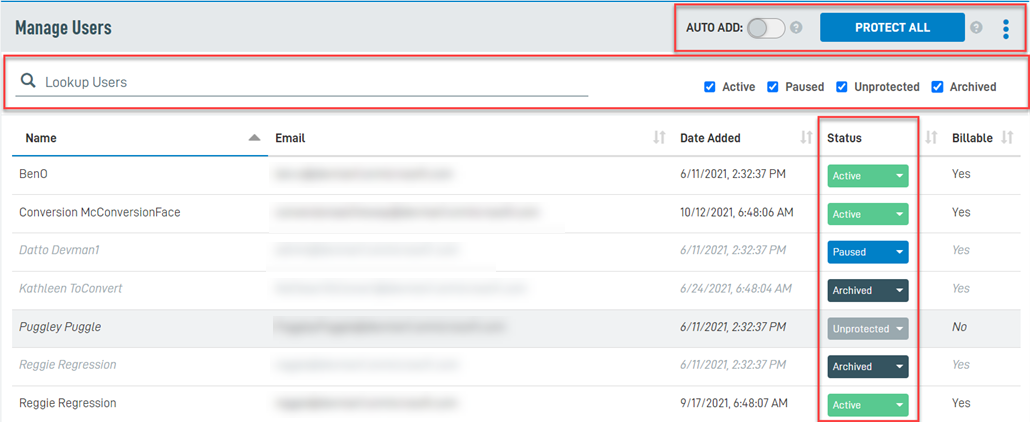
- Protect All: Click Protect All to activate backups for all eligible seats that are not currently being backed up. This does not apply to seats that are Paused or Archived. It may take a few minutes for backups to be activated for all eligible seats.
- Export CSV: You can create a CSV file that includes all of the information in the Manage section. Click
 then select Export CSV.
 - Upload CSV: If Auto Add was turned off when adding a new organization or at any point after the organization was added, you can add new seats by uploading a comma-separated values (CSV) file containing the applicable service values. See the article Adding seats by uploading a CSV file.
- Search (Lookup): You can search for a user, site, or team by entering characters in Search located above the records in the Manage section. The results filter as you enter characters. Select the applicable option from the list.
- Status filter: By default, all records are shown in the Manage section regardless of whether the seat Status is Active, Paused, Unprotected, or Archived. You can filter the results by clearing the check box of the desired status.
- Status: To change the status of a seat, click the value in the Status column and select a status from the list. To change seat status, see the article Changing seat status.


