Adding a new Datto SaaS Protection organization
- The Backupify app must be installed in your Google Workspace environment before you can add an organization. (See Installing the Backupify app from the Google Workspace Store).
- It is recommended that you review the entire article before performing the required tasks as you may need to obtain information from the organization to complete certain steps.
Adding (onboarding) a new Datto SaaS Protection organization to your environment is an easy and straightforward process. This article describes the steps you perform to add a new organization.
Authorization prerequisite
To add an organization, authorization for SaaS Protection to access the Google Workspace domain must be granted by the Google Workspace Super Admin.
-
If you are the Google Workspace Super Admin, you will grant access yourself while running the Add an organization to Datto SaaS Protection procedure.
-
If you are NOT the Google Workspace Super Admin, while running the Add an organization to Datto SaaS Protection procedure you will select the No option under Do you have global admin credentials for the product being protected to request authorization from the Google Workspace Super Admin via email.
-
The Google Workspace Super Admin must have a valid, active Google Workspace license to grant access to SaaS Protection.
Add an organization to Datto SaaS Protection
To add an organization:
- Log in to the Datto Partner Portal as an administrator.
- Select Status > SaaS Protection Status.
- Click Add SaaS Protection Organization.
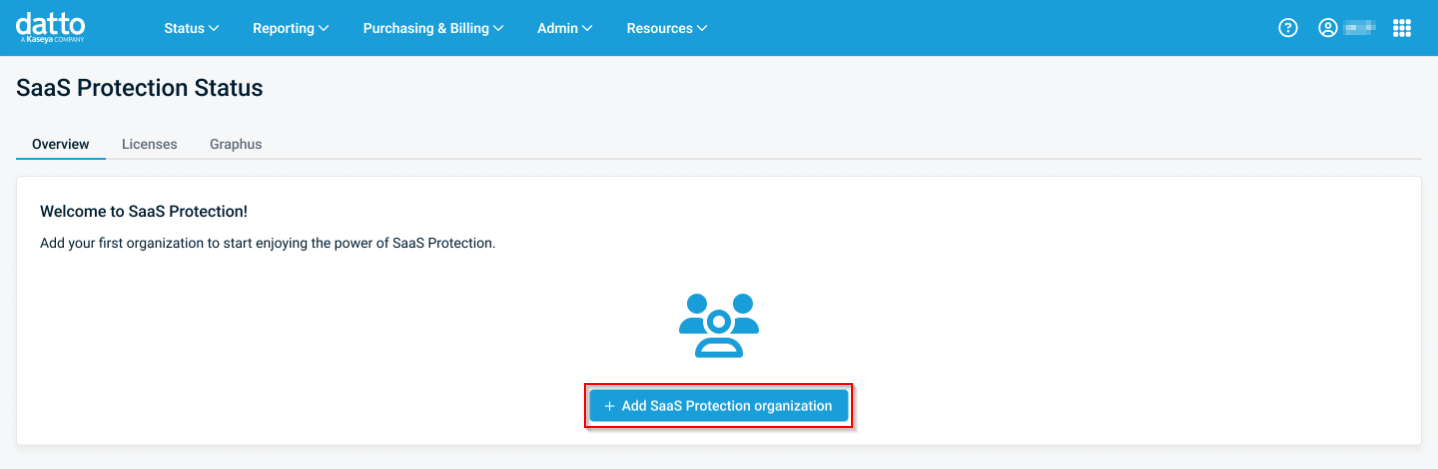
NOTE The Add SaaS Protection Organization button is available only to admins. If you wish to make this function available to a technician at your company, contact Support.
-
The Add Organization dialog walks you through adding a new organization. Refer to the following table for details about each step in the dialog.
|
|
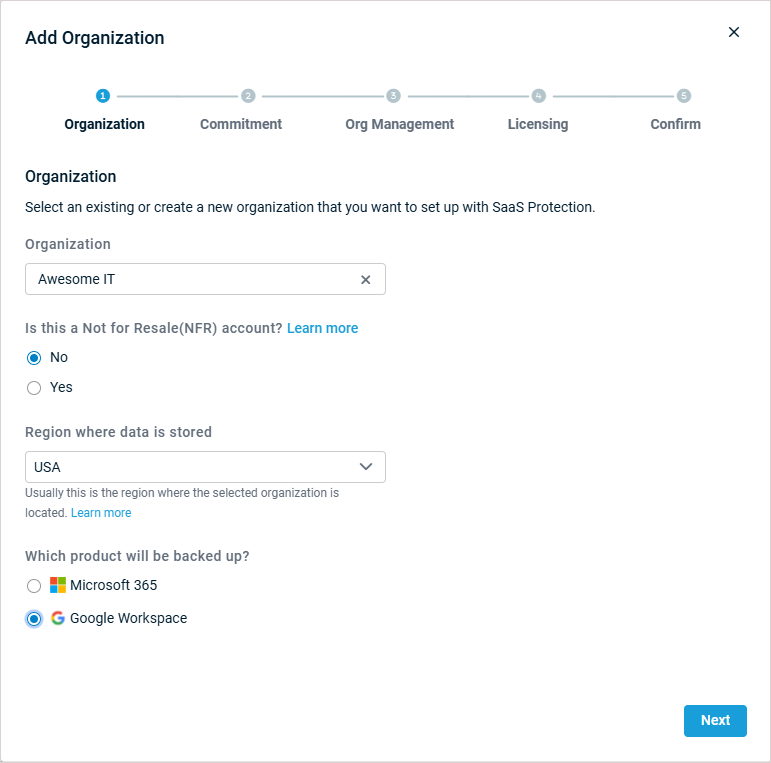
OrganizationIn the Organization step, you will define the product to be backed up, storage region, NFR status, and the organization to link to the new SaaS Protection account.
NOTE To link the new SaaS account to an existing organization that already has a SaaS account linked to it, select the existing organization (e.g., add a Google SaaS account to an organization that already has a Microsoft 365 SaaS account linked to it. This is known as a dual provisioned account). Doing so will restrict some options (region, commitment, licensing) in the creation process as backup configuration settings must be the same across all domains in an organization. These settings have been pre-selected and cannot be changed.
|
|
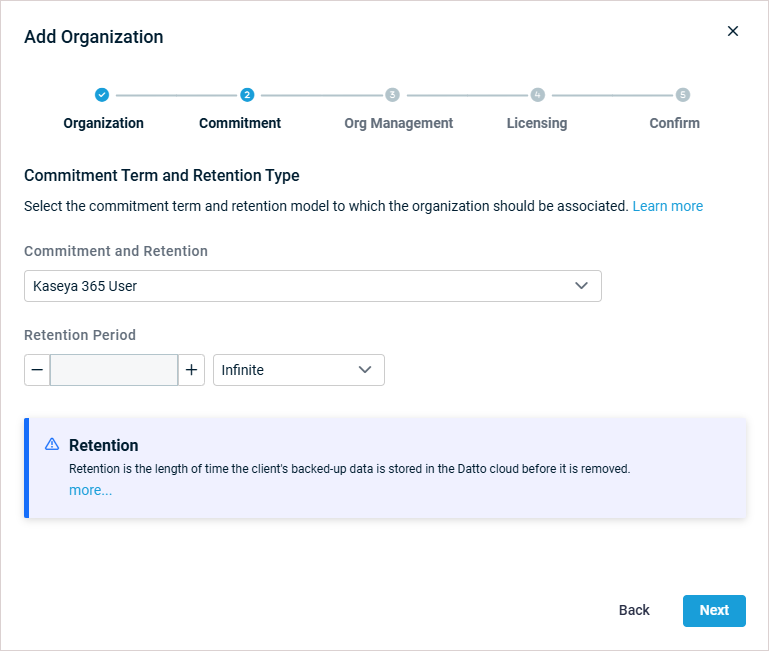
Kaseya 365 User example:
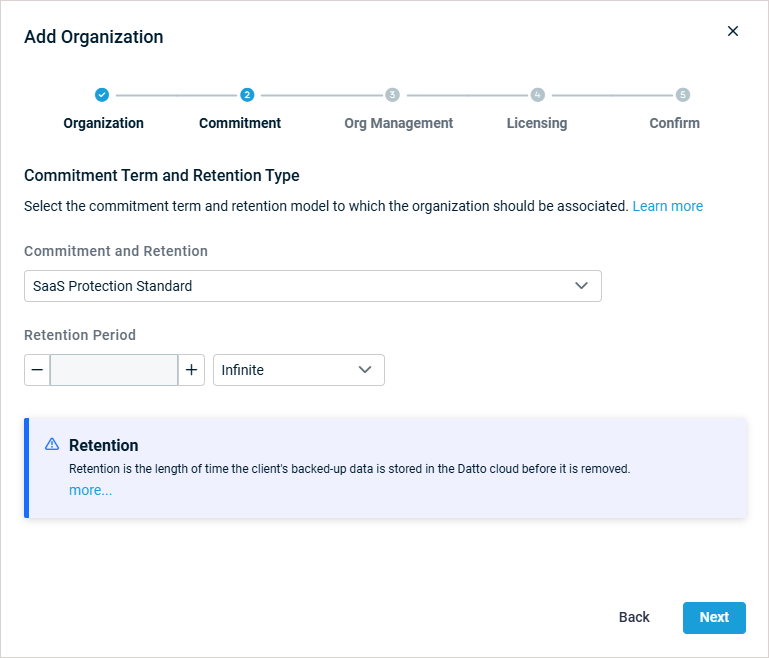
SaaS Protection Standard example:
Legacy SaaS Protection example:
|
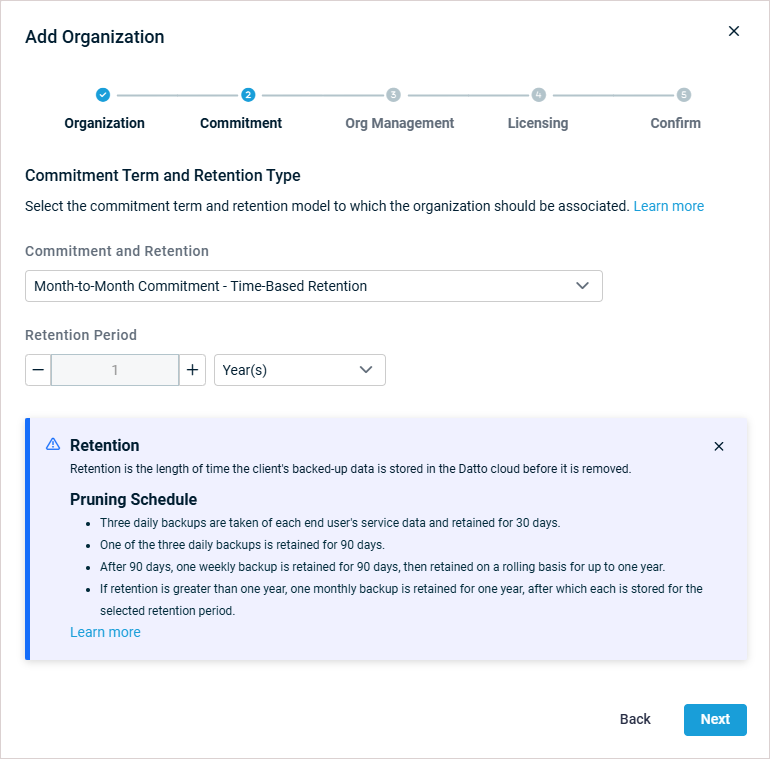
CommitmentThe organization's retention setting determines how long historical backup data is retained. Choosing the Infinite setting will retain backup history until the subscription is canceled.
NOTE For more information, see Understanding the pricing model. This article shows how to check which subscription type you are using and describes retention for each subscription type. |
|
|
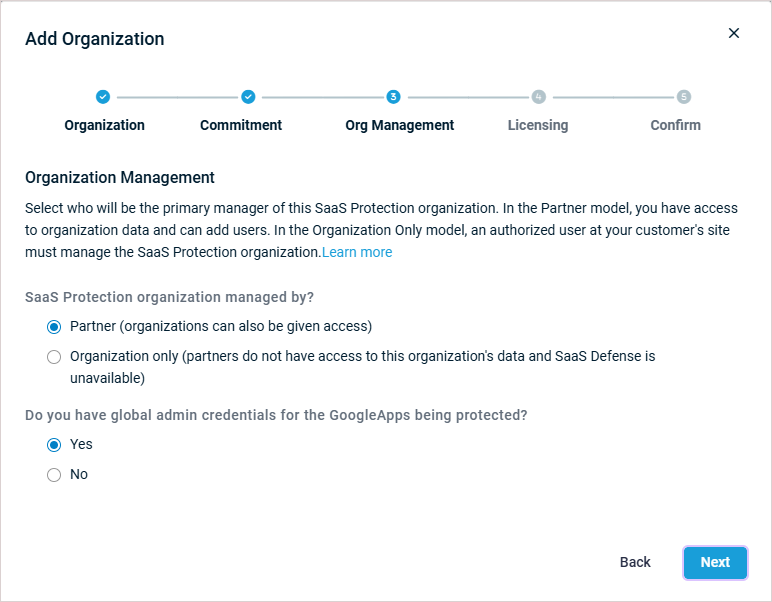
Organization ManagementIn this step, you will select whether you or your organization will manage the SaaS Protection account. The selection you make determines who authorizes and manages the SaaS Protection account. For more information on organizations and users in the Datto Partner Portal, see Manage company and organization users.
NOTE If you are a direct customer and not buying via an MSP, the organization must be partner managed and you cannot select the Organization setting.
|
|
|
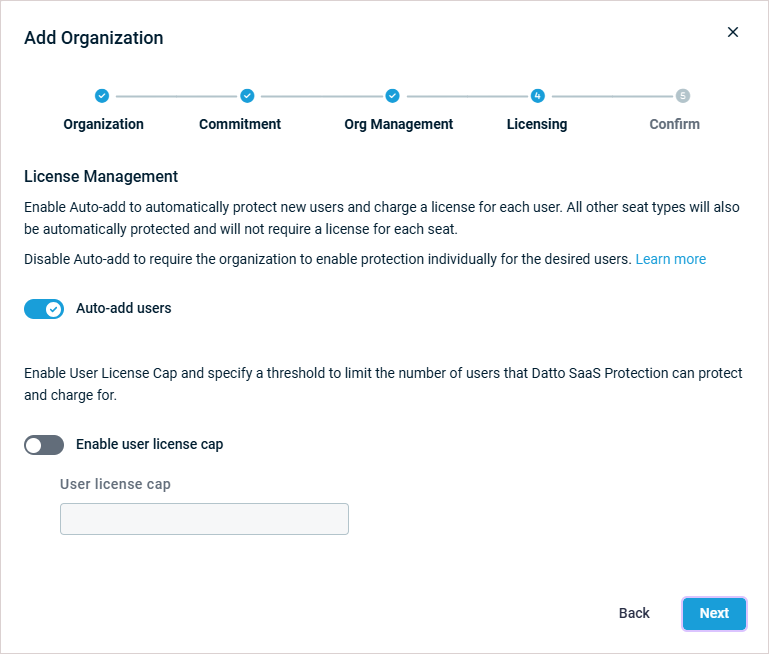
LicensingIn this step, you can choose whether to use auto-add to automatically protect new users and enable a user license cap to prevent the organization from consuming too many SaaS Protection licenses. To make managing user licenses easier, it is recommended that you leave the Auto-add users toggle enabled.
|
|
|
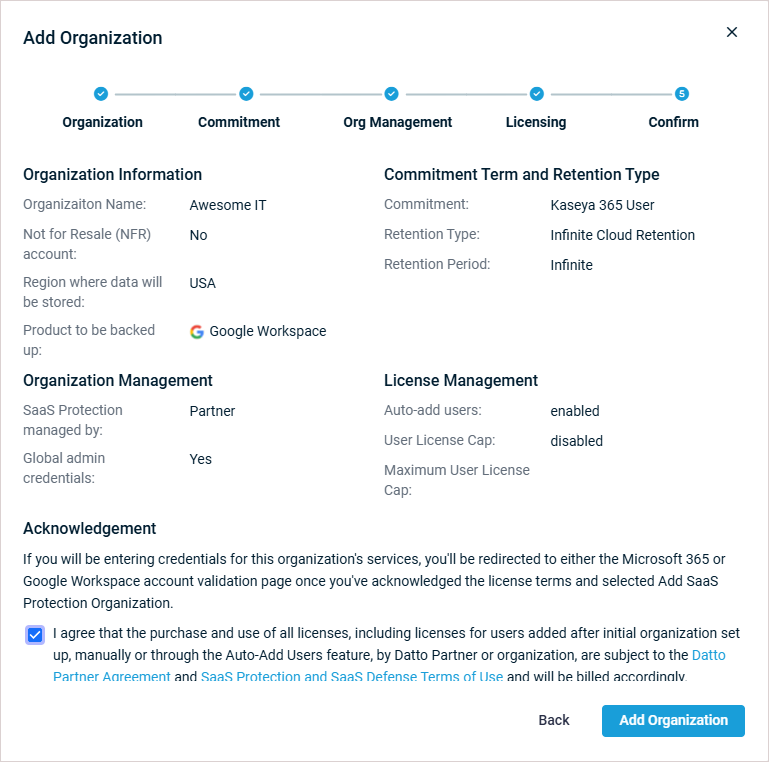
ConfirmReview the configuration of the new SaaS Protection organization and provide global admin credentials.
|
For information about working with existing SaaS Protection organizations, see the article Exploring the SaaS Protection Status page.


